NextJS Blog Template: Setup and Deployment
Created on October 6, 2024Updated on October 8, 2024
OVERVIEW
In this post we will setup and deploy a NextJS application. I use this template as a starter for new projects and I hope it will serve as a great starting point for your next project too.
Let's get started.
Setting up our NextJS app
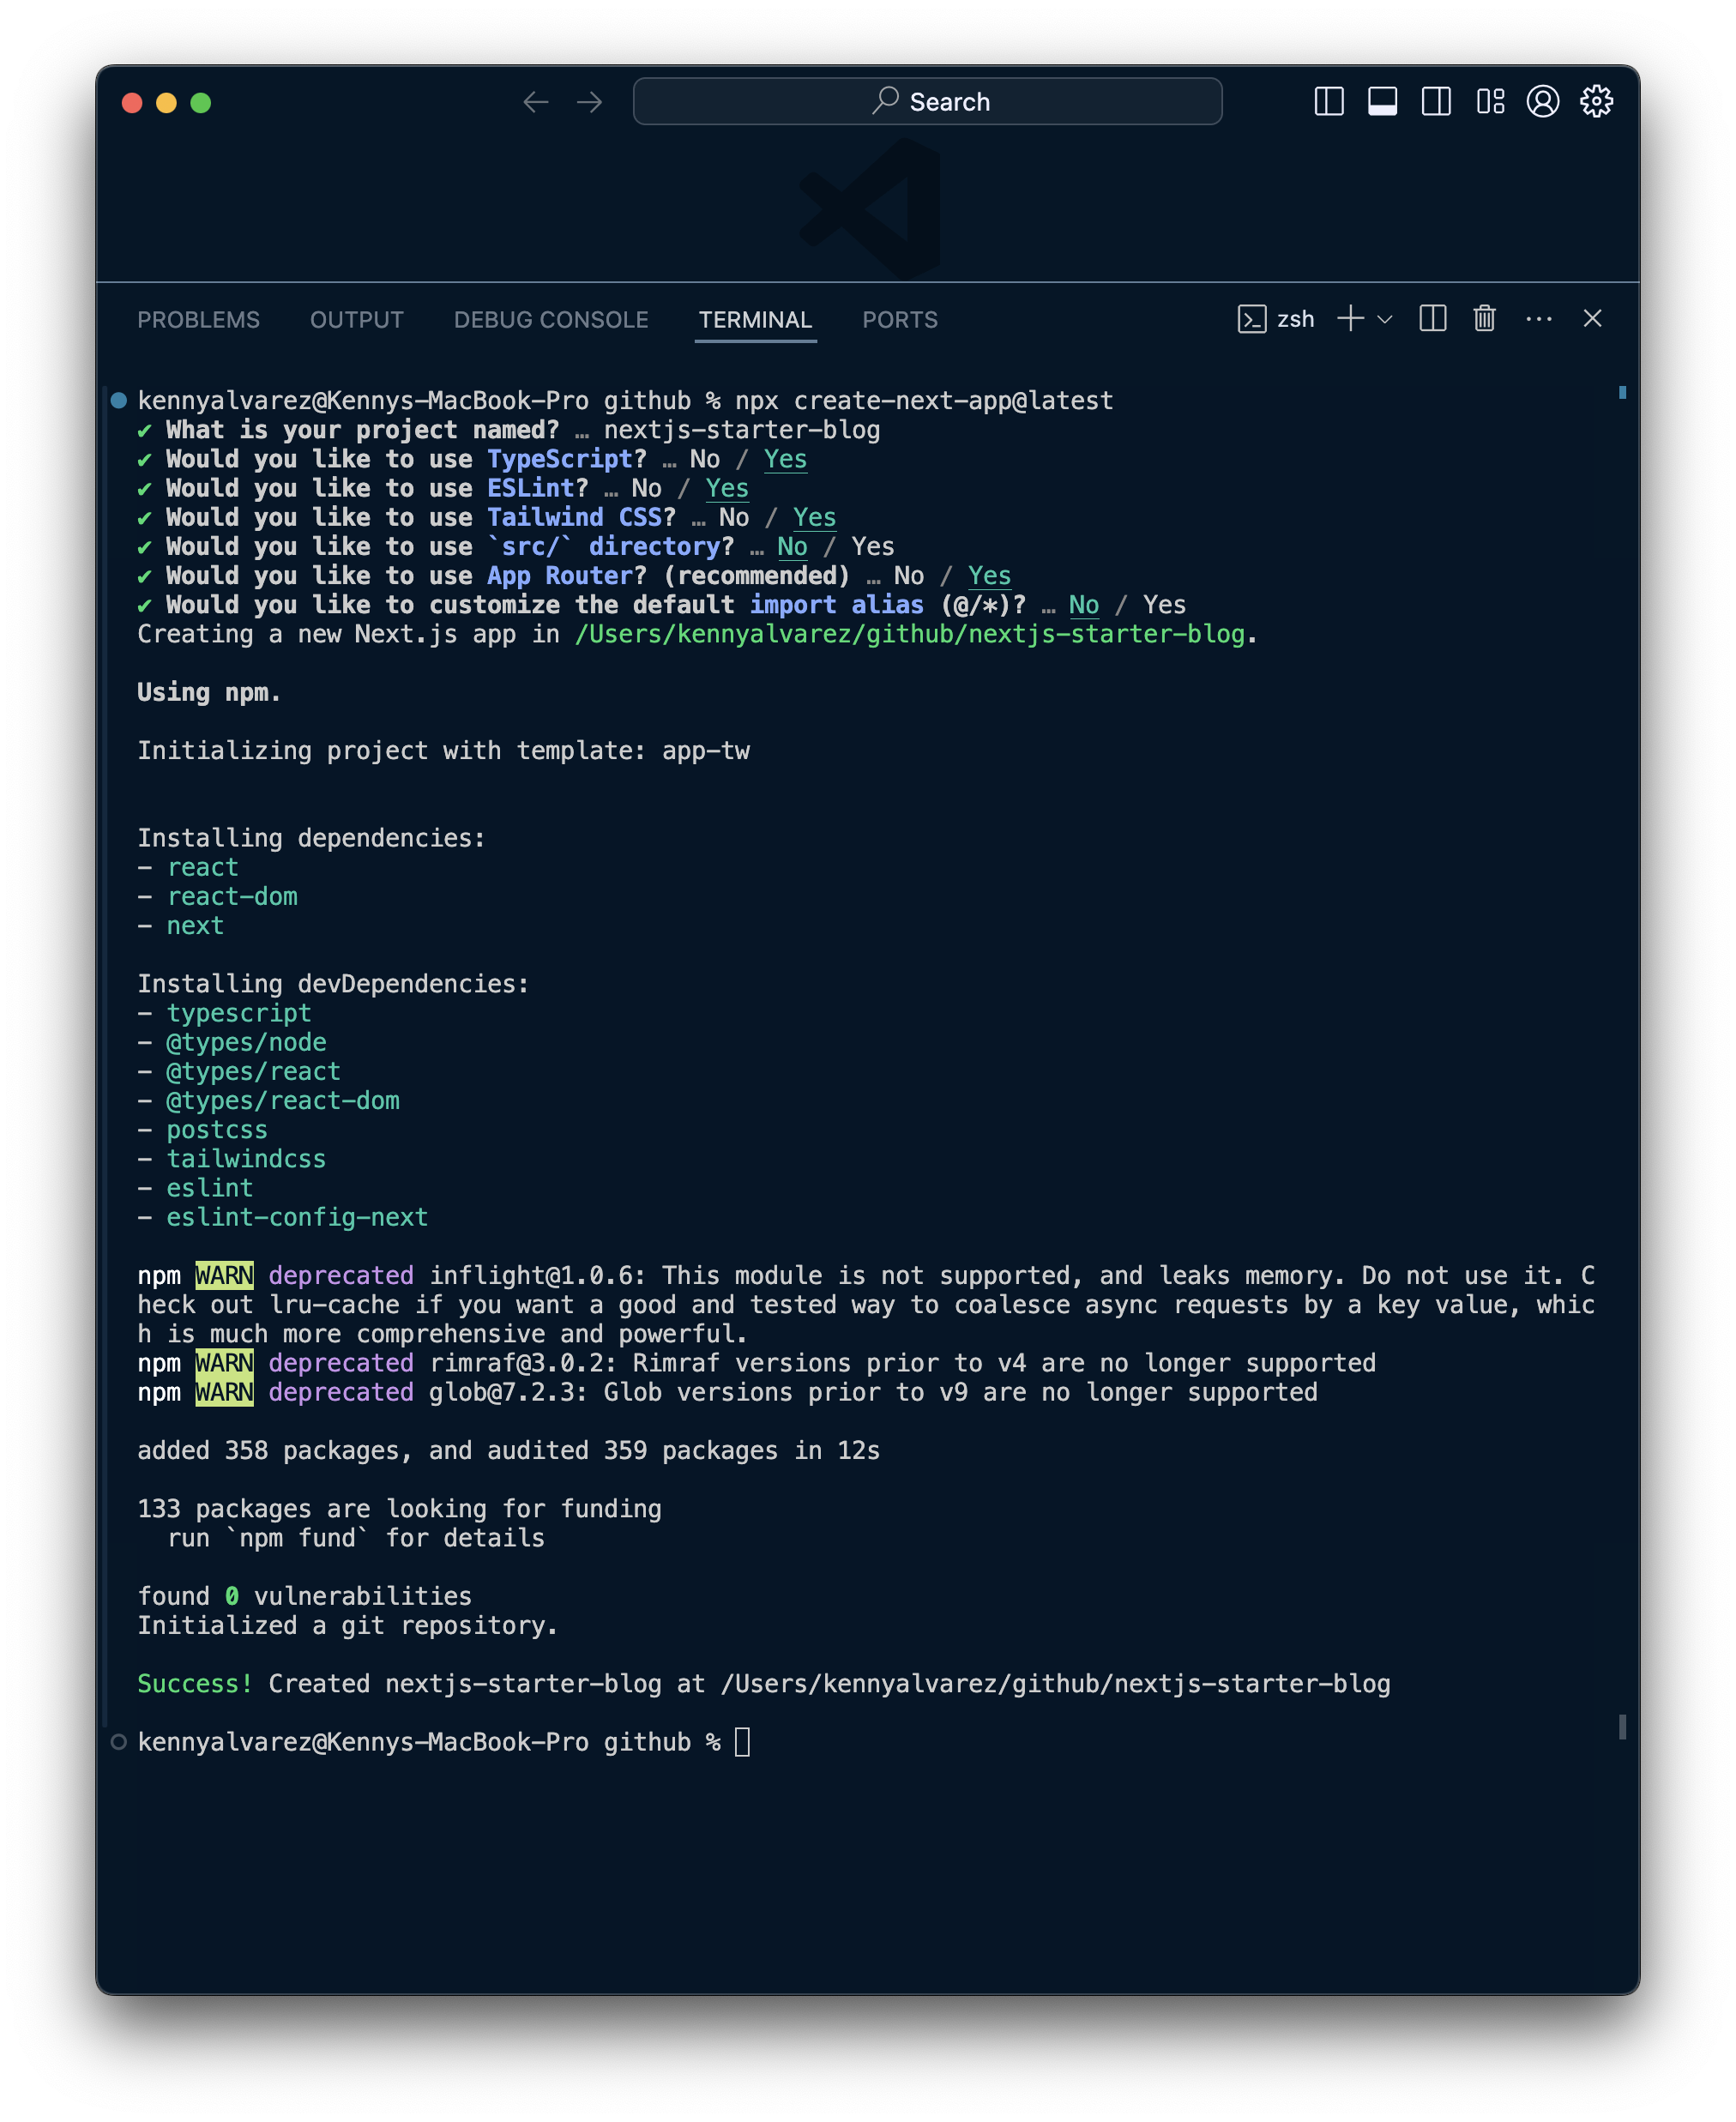
In a terminal navigate to your desired directory and run the command to set up a NextJS Project.
npx create-next-app@latestYou can find additional details and documentation for NextJS at https://nextjs.org/docs/getting-started/installation.
Next we can follow the prompts to continue setting up the app. My answers to the options are below:
 Create a Github Repository
Now that we have installed our app let's take a moment to set up our repo. We'll use this repo to deploy our app on Vercel. Once it's connected we can automatically push changes to our app by merging to our main branch.
I like to use the Github Desktop app so here is how the UI looks for me. I'll create a new repo with the cmd + n shortcut. Enter the app name and select the parent directory for the app we just created.
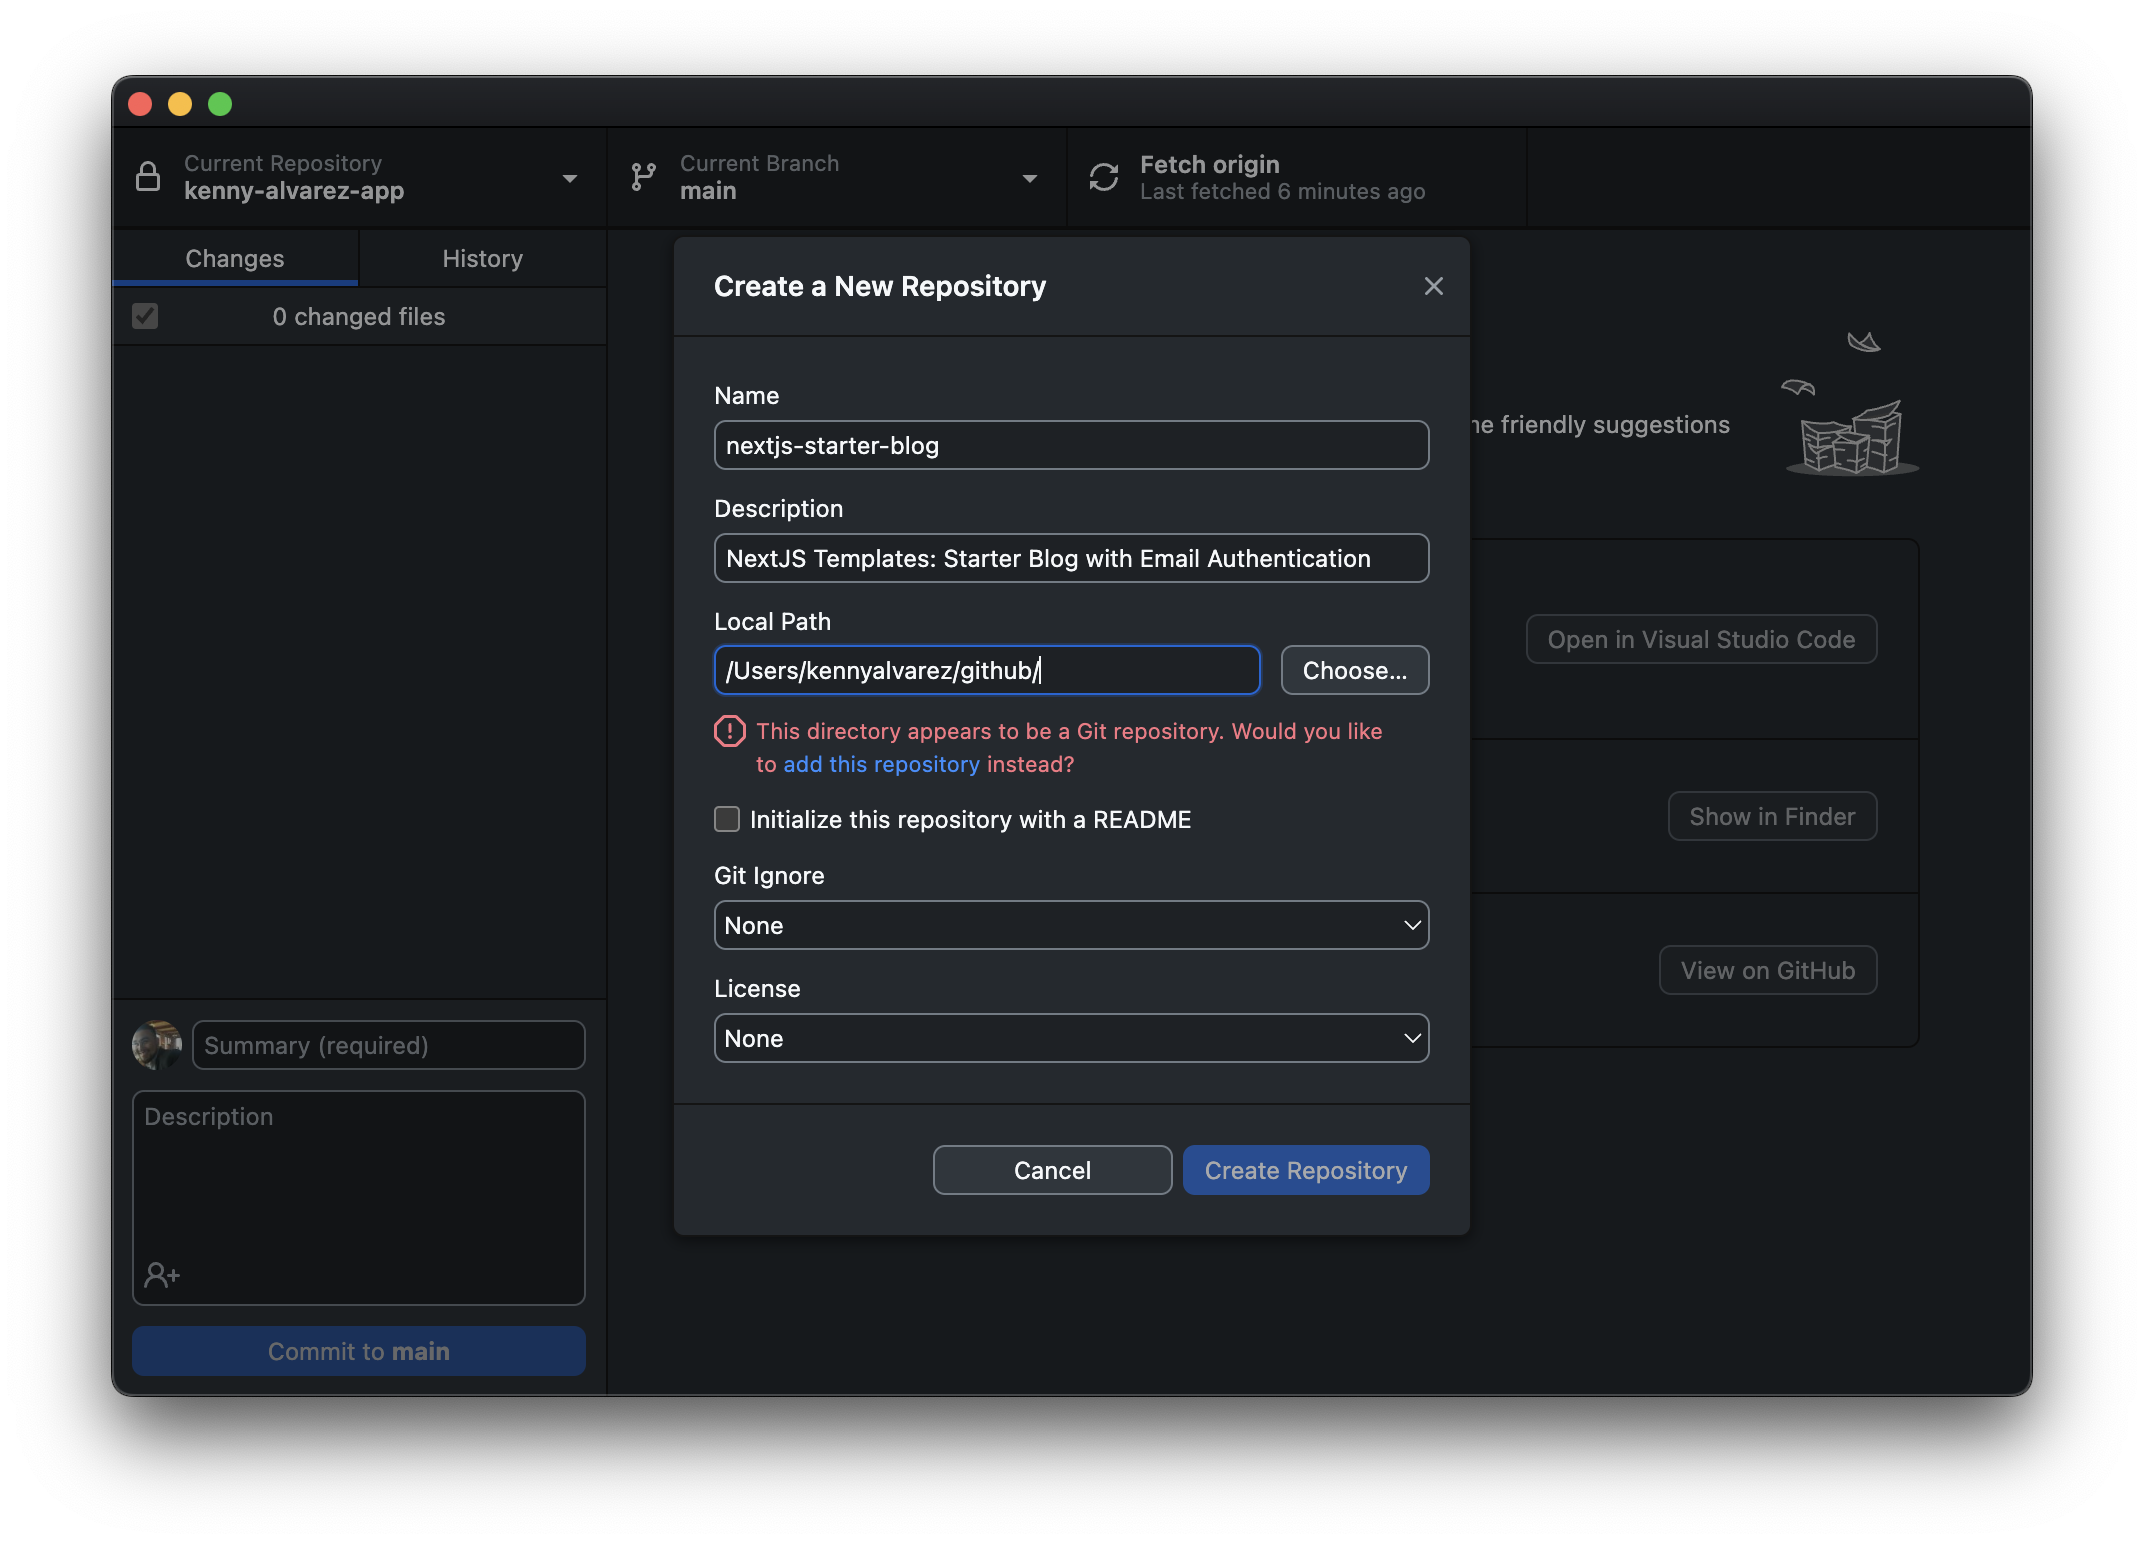 You'll see a message asking if we want to add this repo. Click "add this repository" and we'll select the app's directory on the next window.
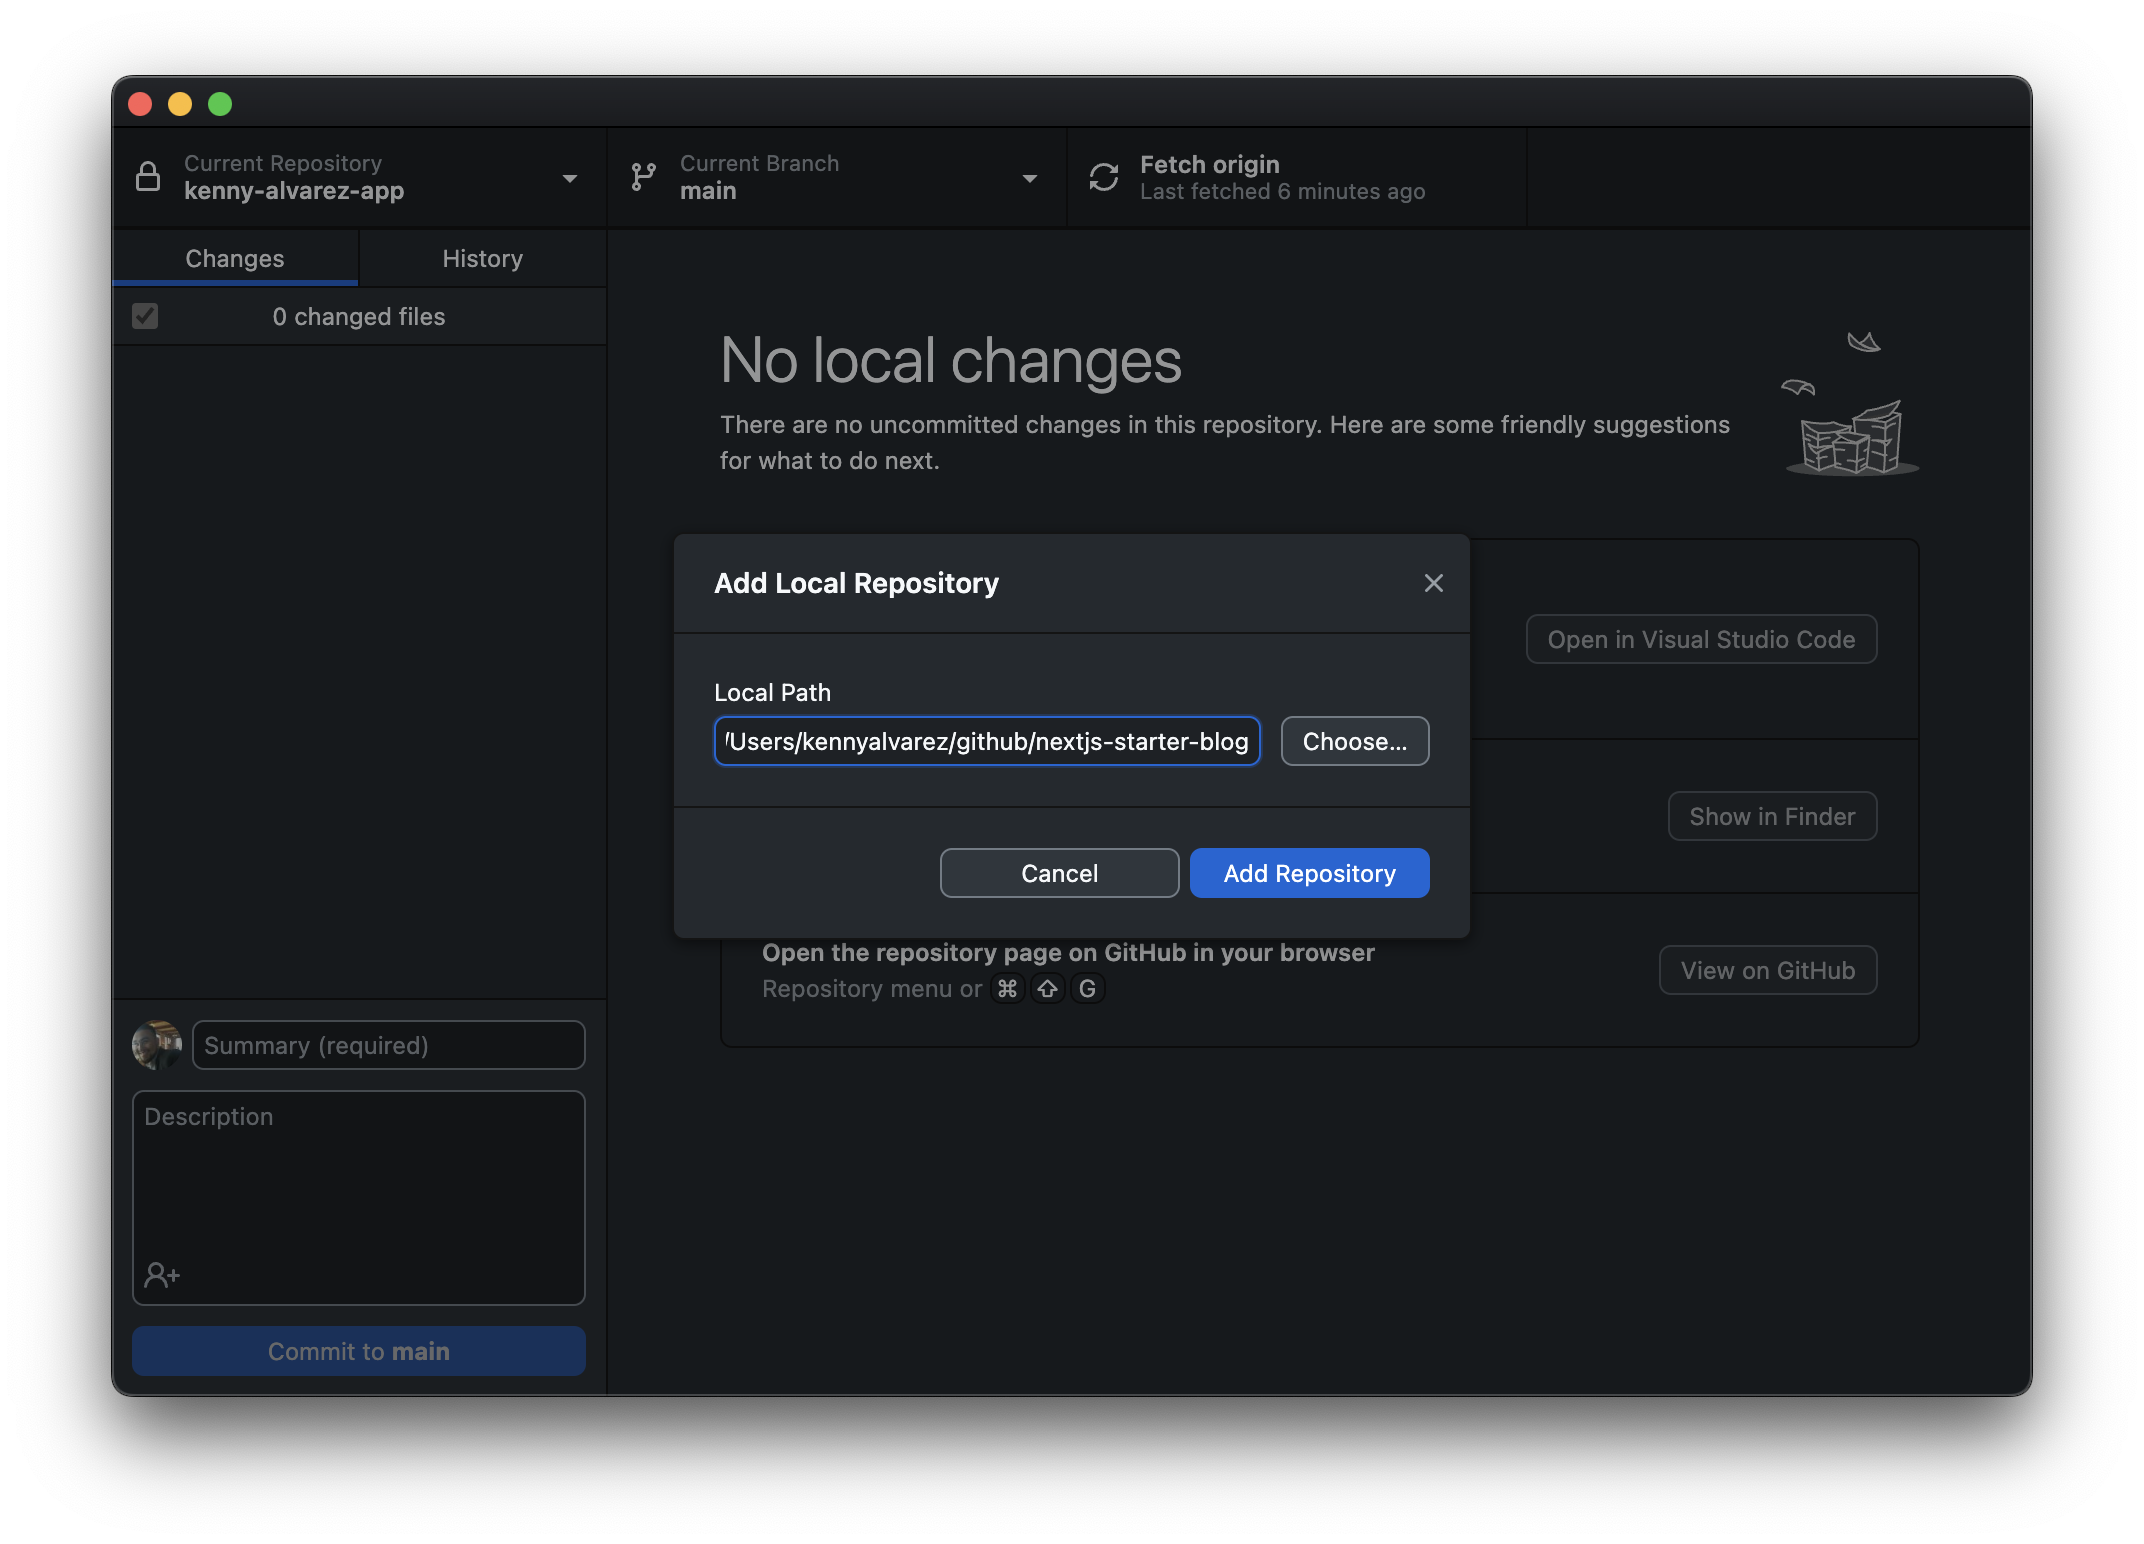 Now we can publish the repo by clicking on Publish repository and we are ready to use our repo to deploy our app with Vercel.
Let's check out the app.
Now that we have our repo setup, lets run our project locally. I'll be using VSCode to develop and we can start by opening the project we just created.Now we can run the following command and we should see our app running on our local server shortly.
pnpm i && pnpm run devNote: I use pnpm to install my dependencies but you may use npm as well. If you do choose to utilize pnpm, you can delete the package-lock.json file.
Navigate to http://localhost:3000 in your browser and you will see the default NextJS app running. Before we move on to make changes and add authentication to our template, let's publish our repo over at https://vercel.com/.
Deploy App to Vercel
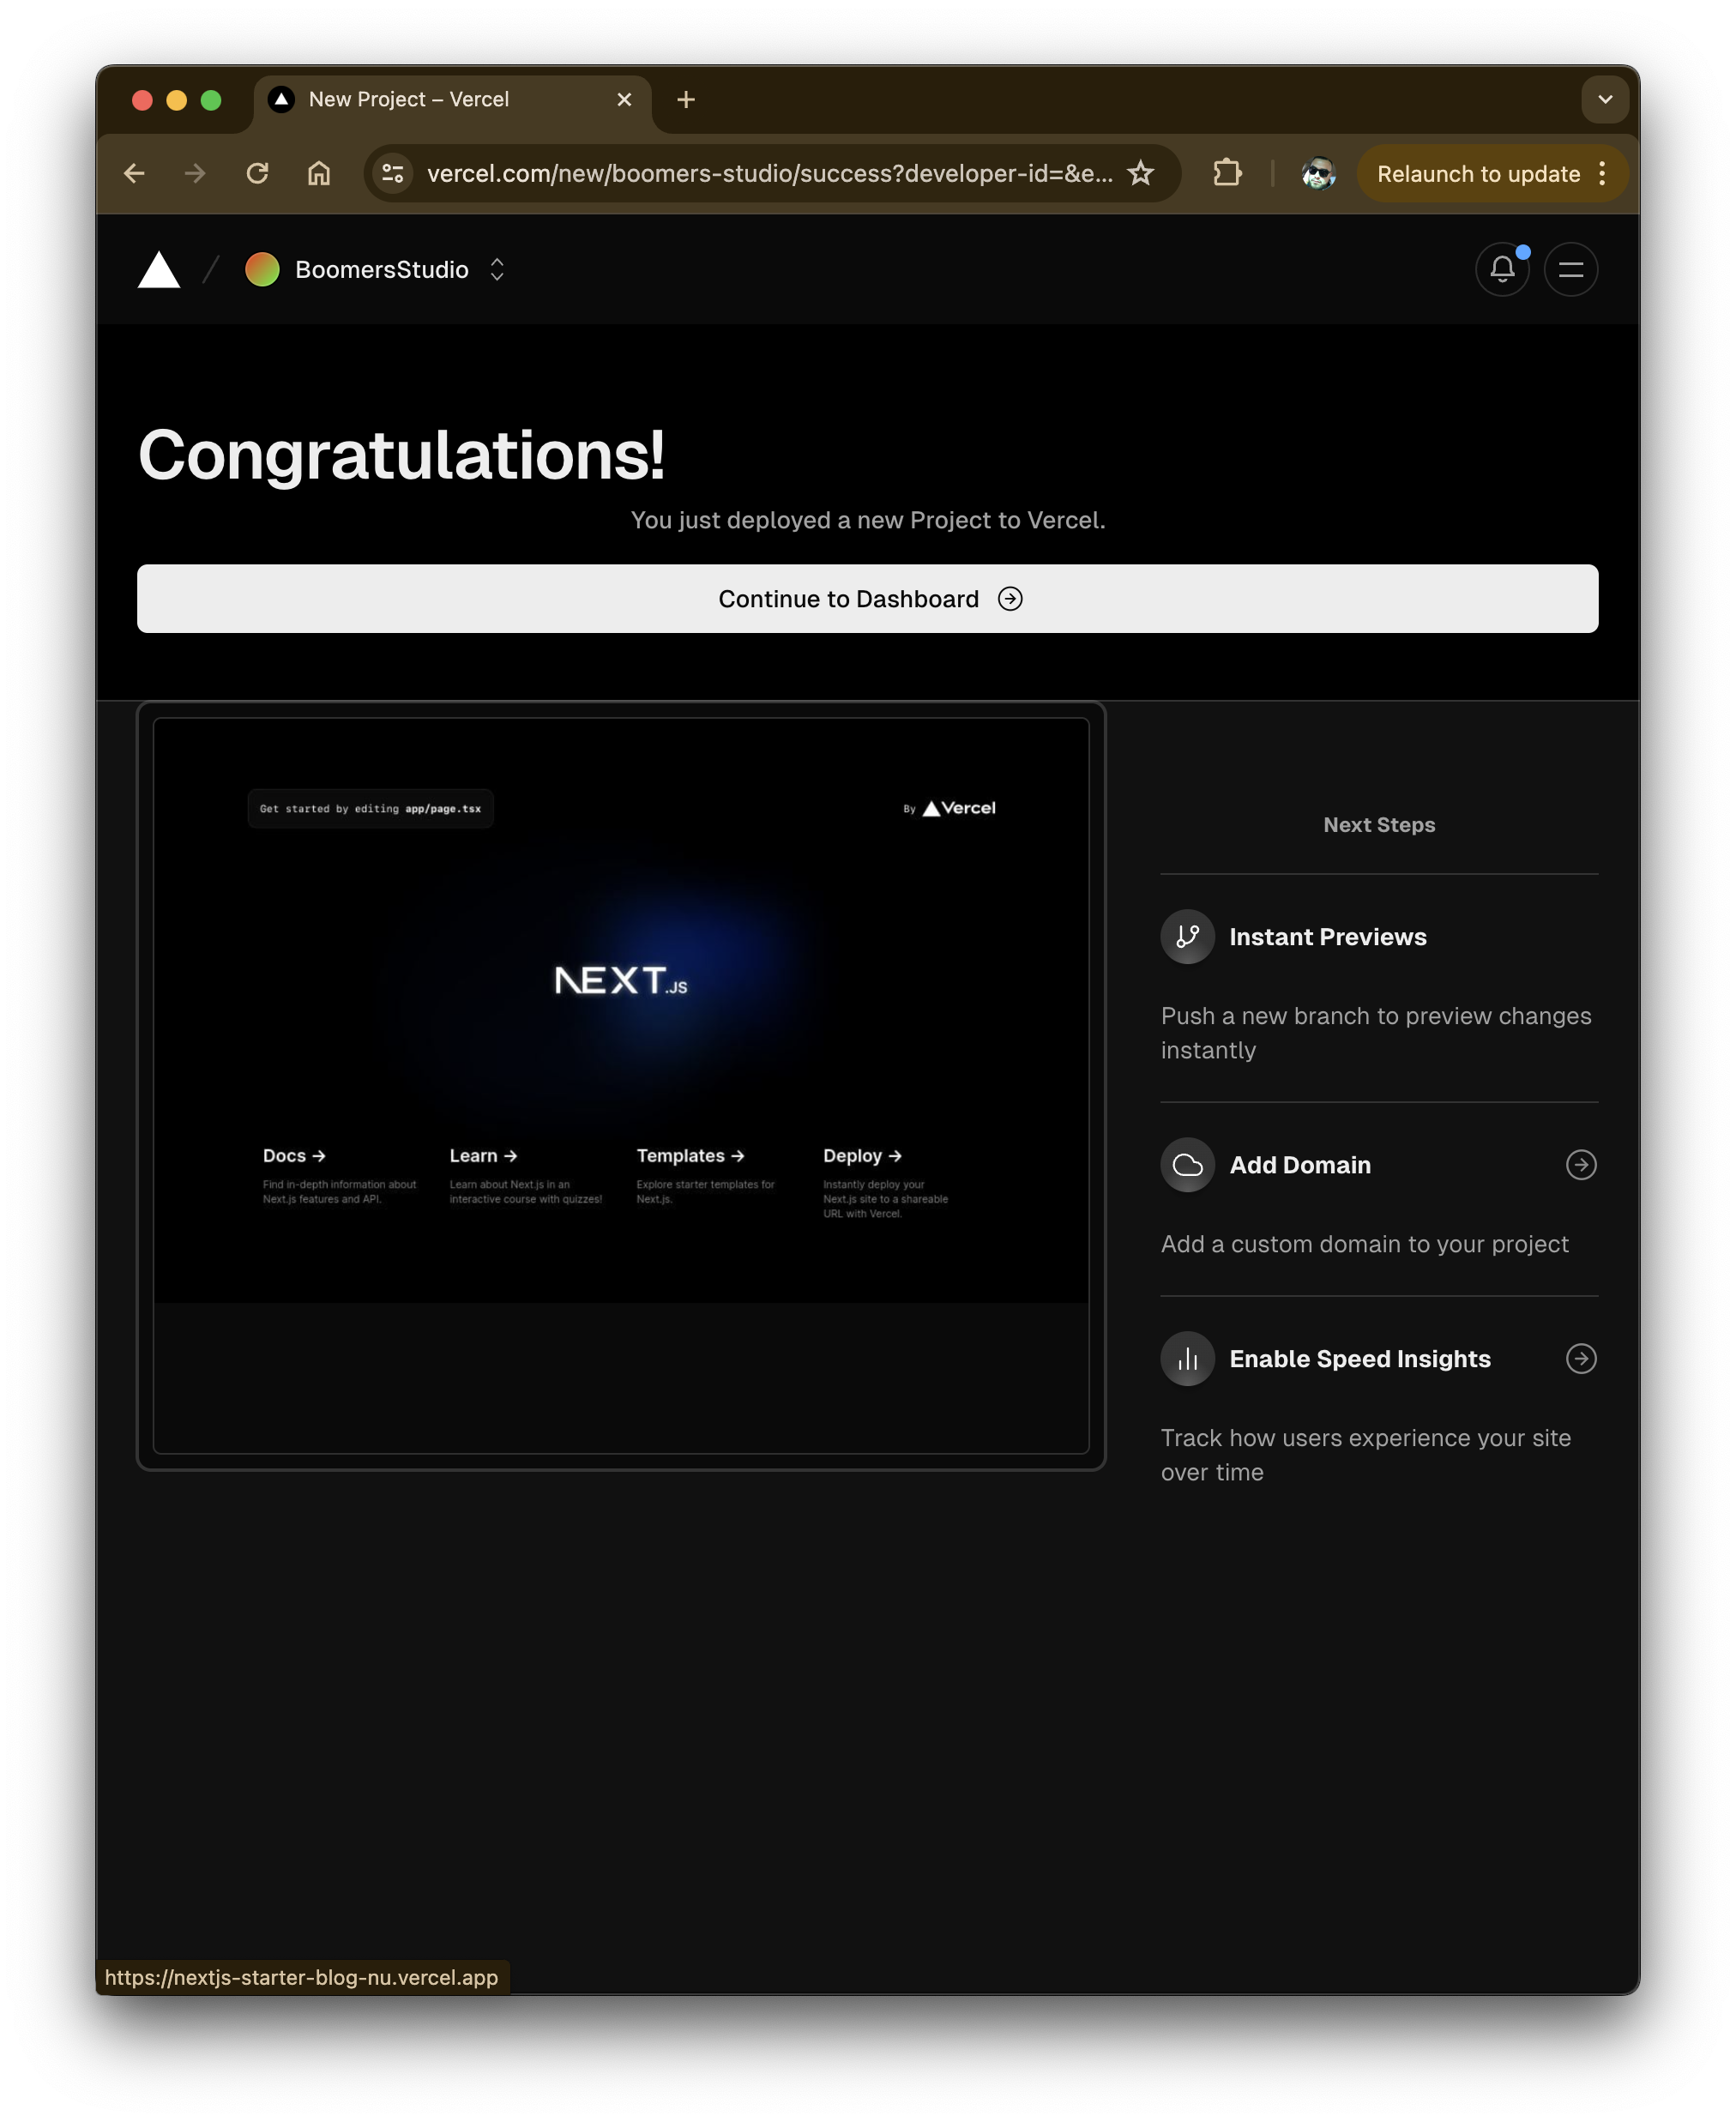
Create an account and from the main dashboard click on the Add New and select Project from the options. Click on Configure GitHub App and follow the prompts to grant access to the repository we just created, for me it was named nextjs-starter-blog. Once access is granted select Import and you can now deploy your app.
Here are some screenshots of the steps I followed:
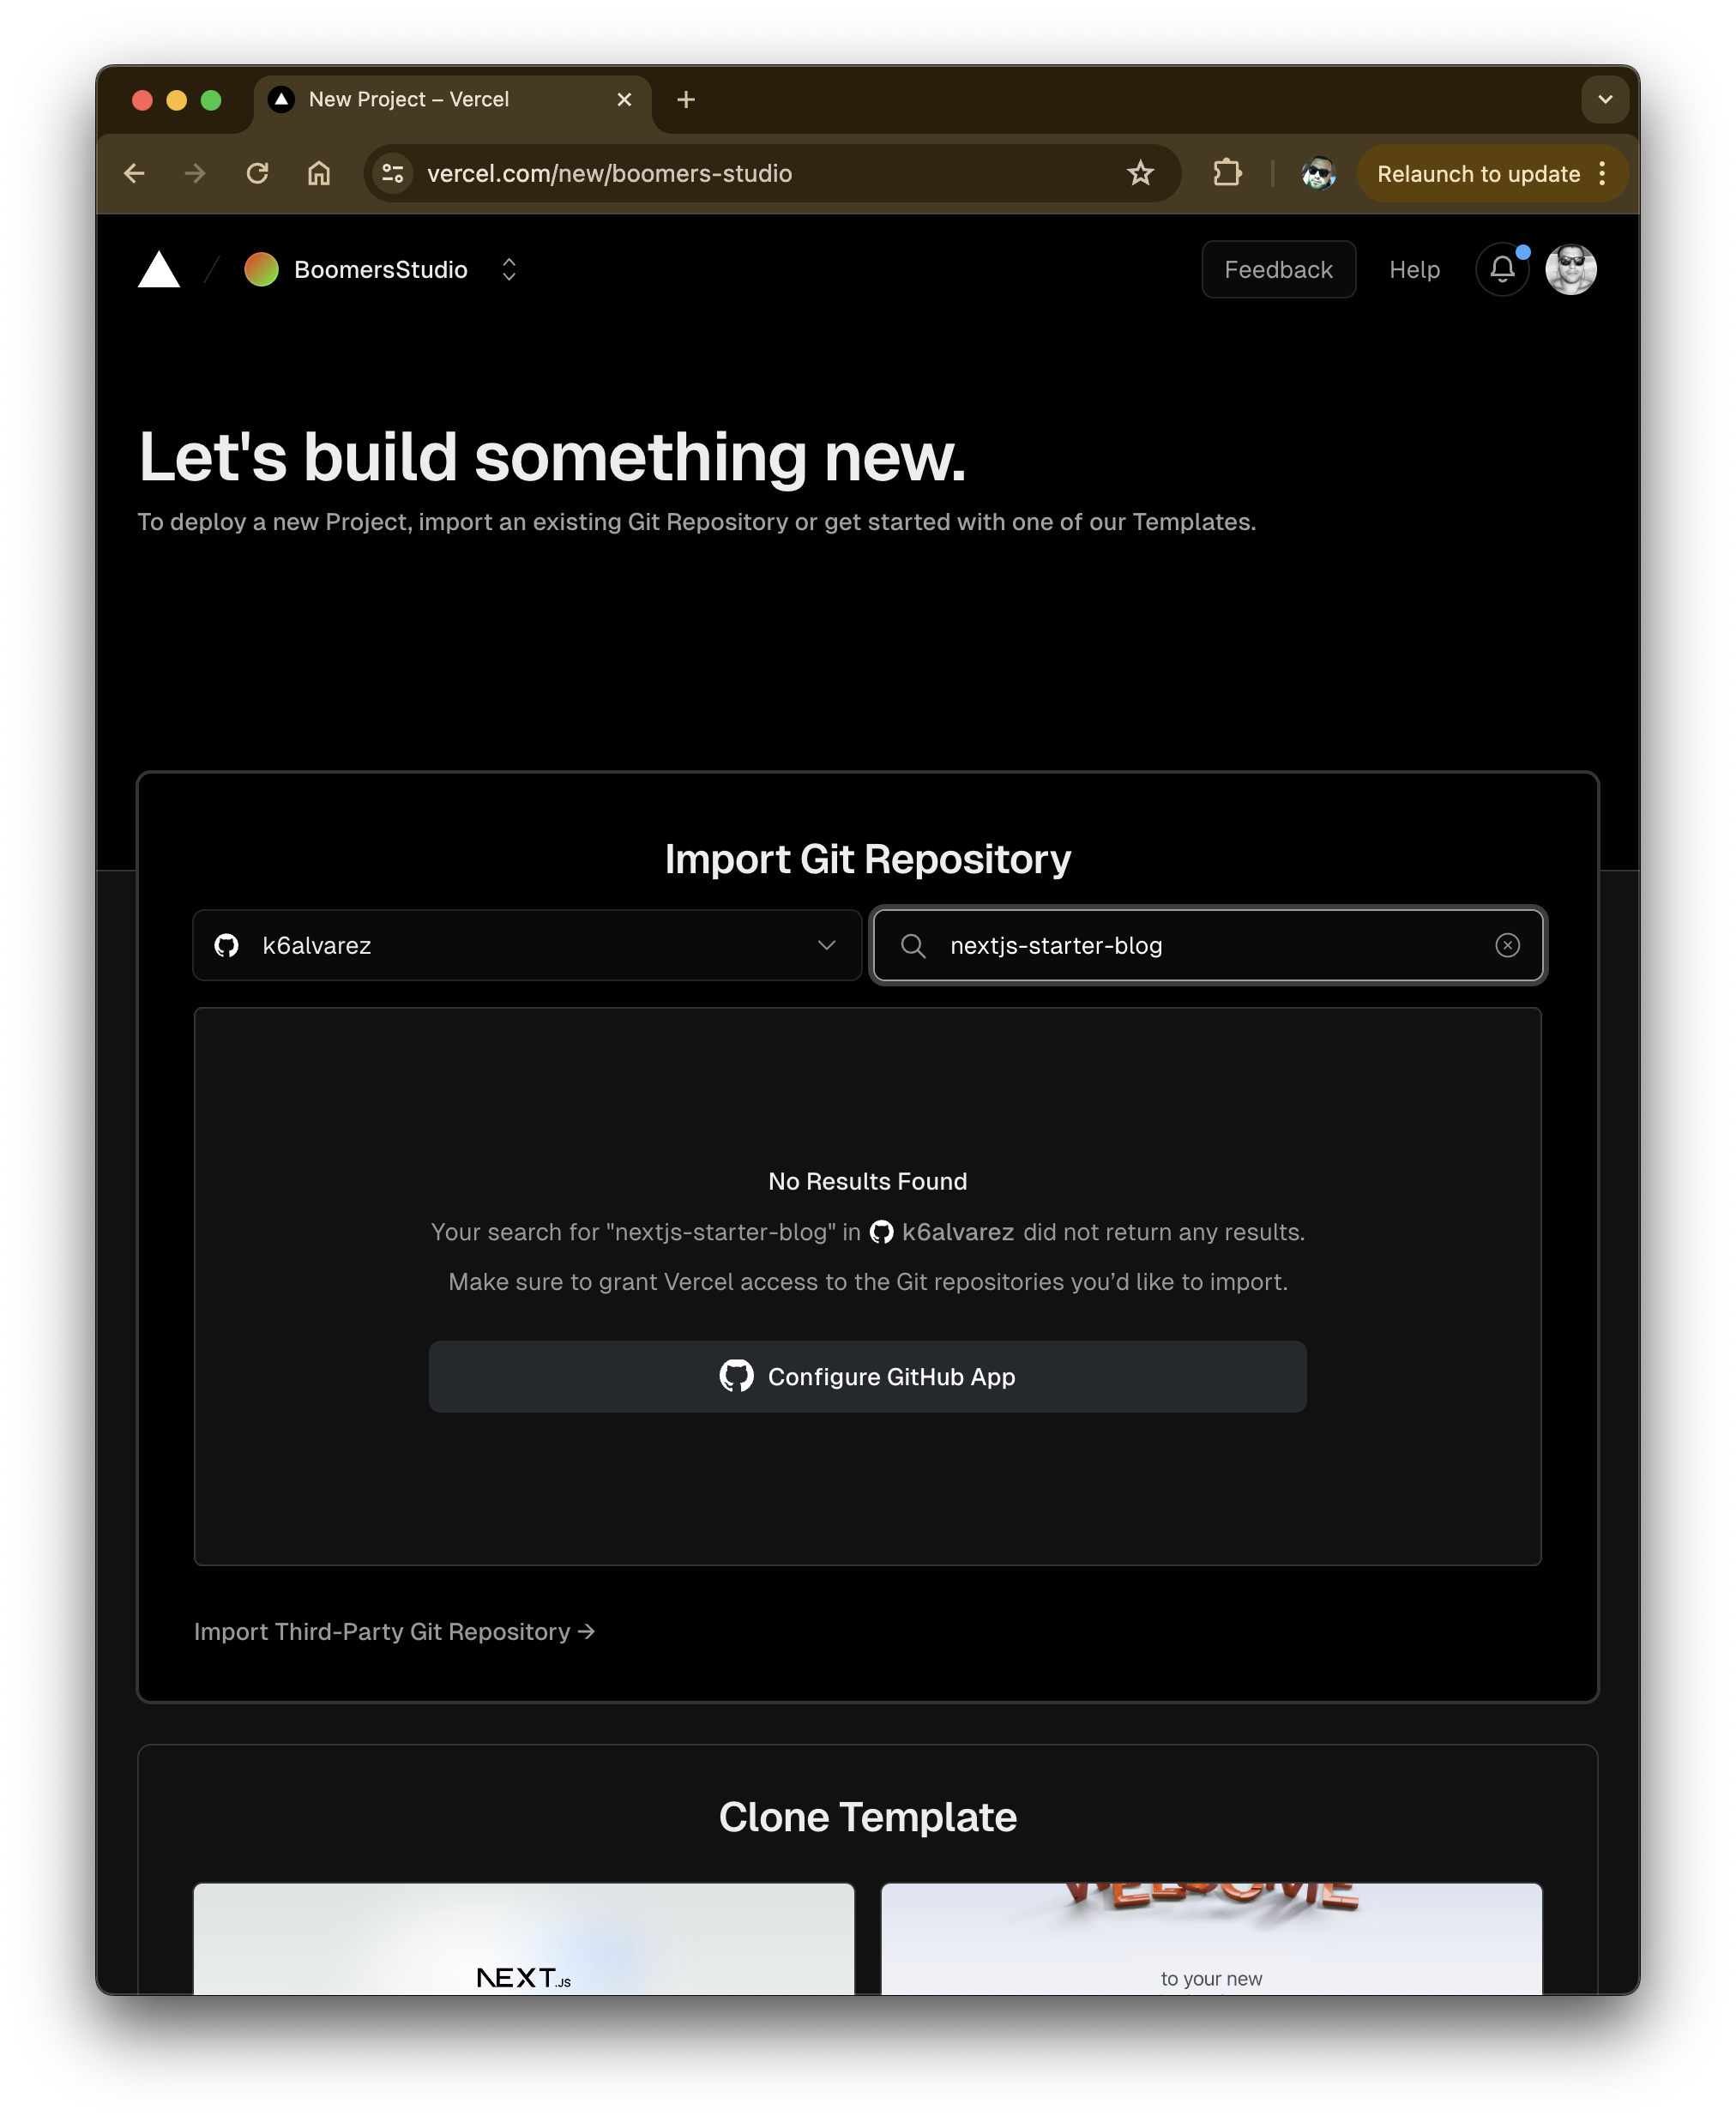
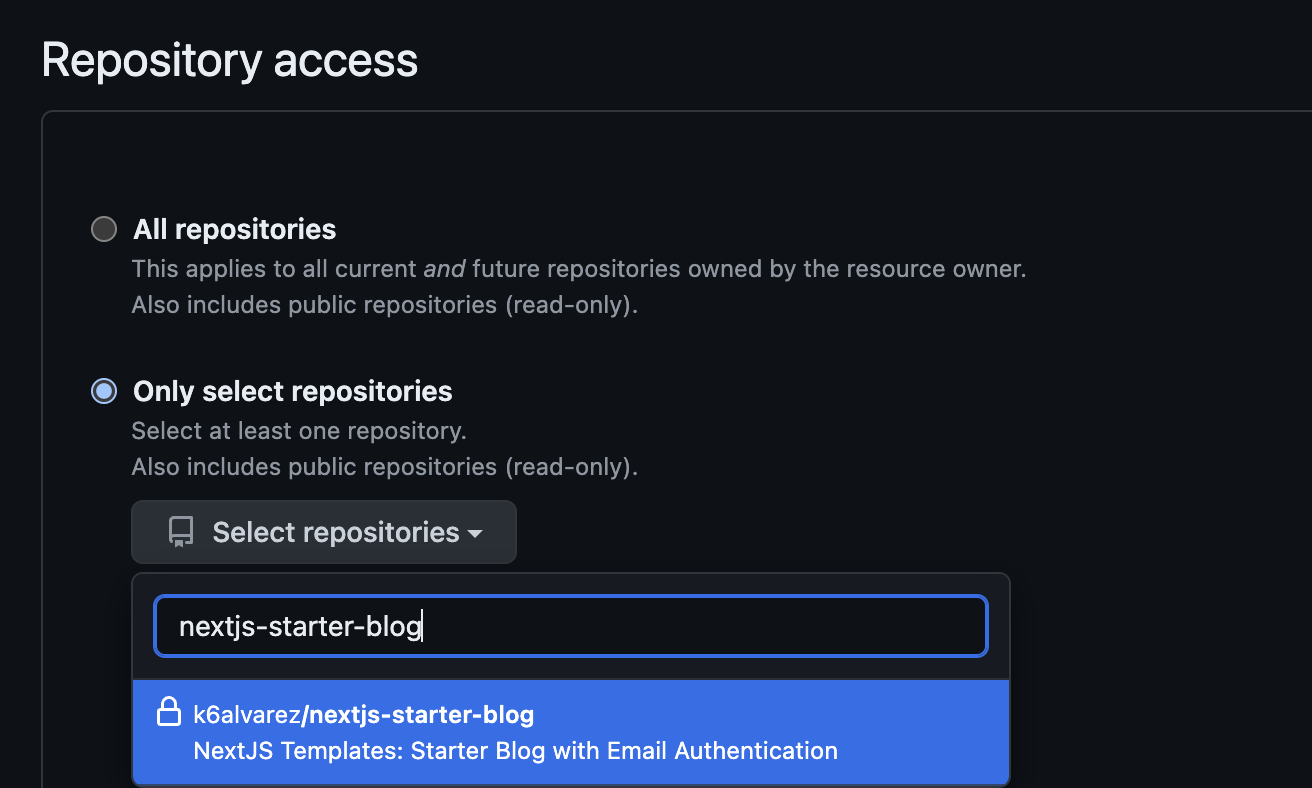
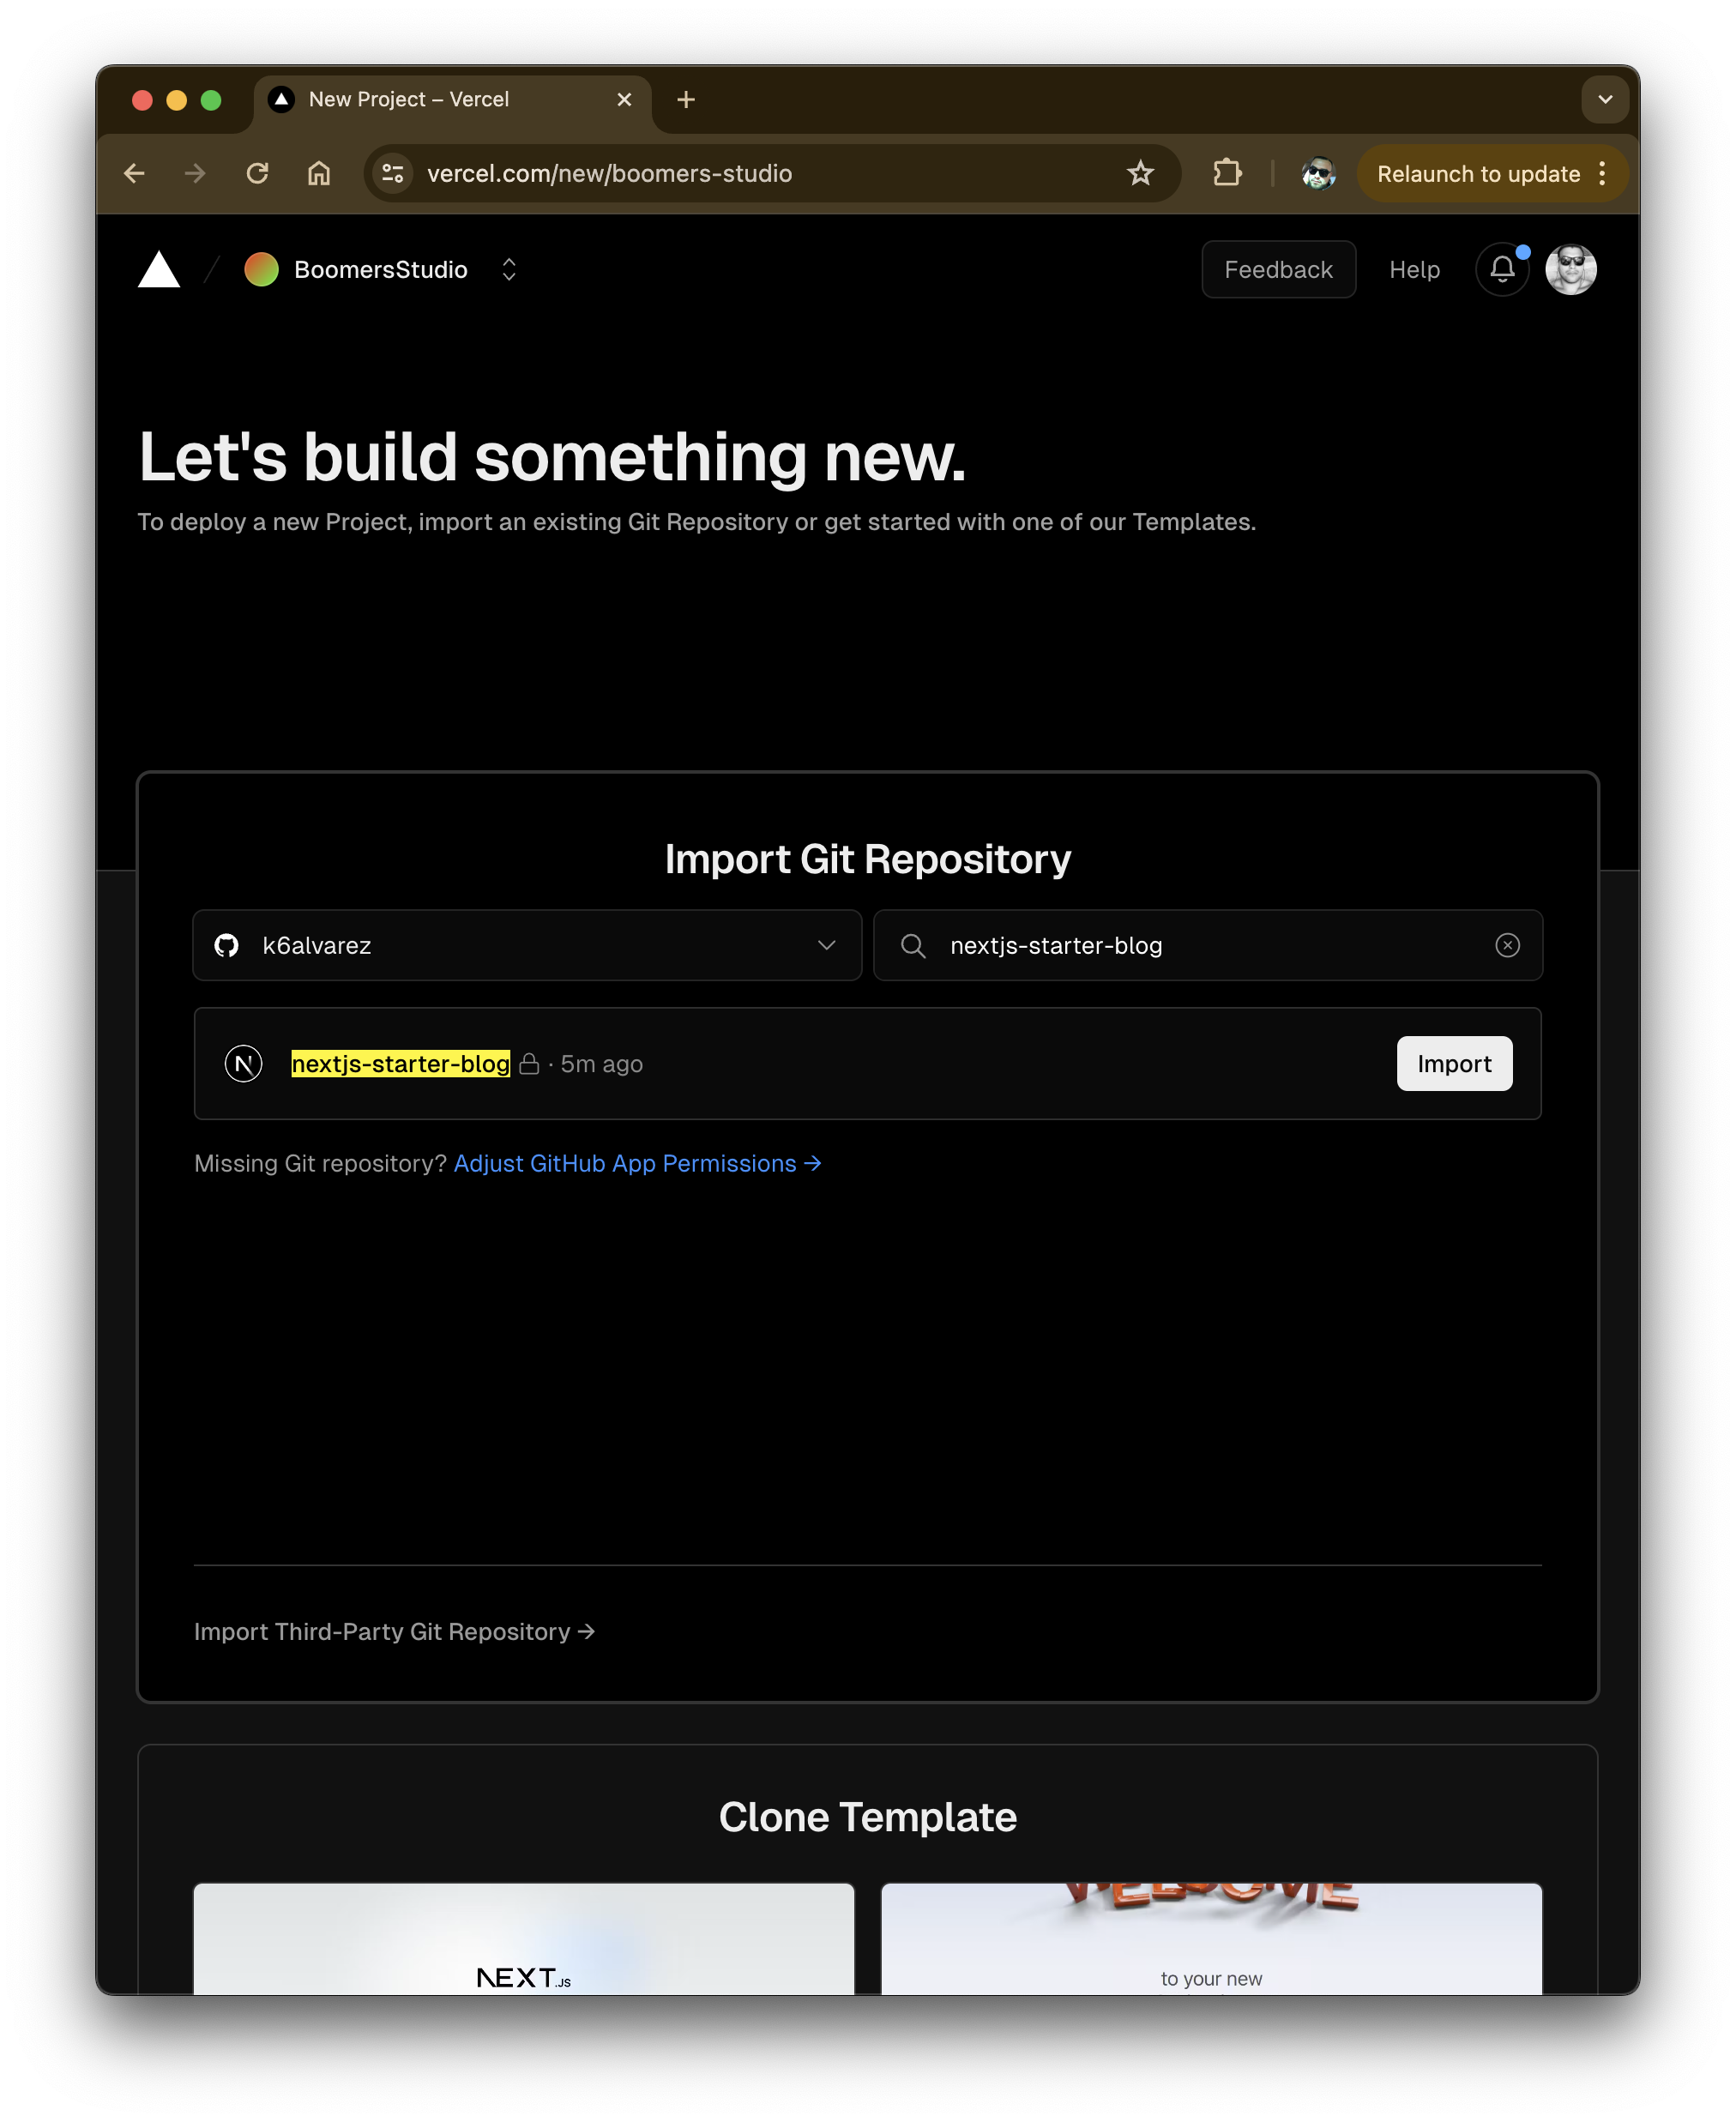
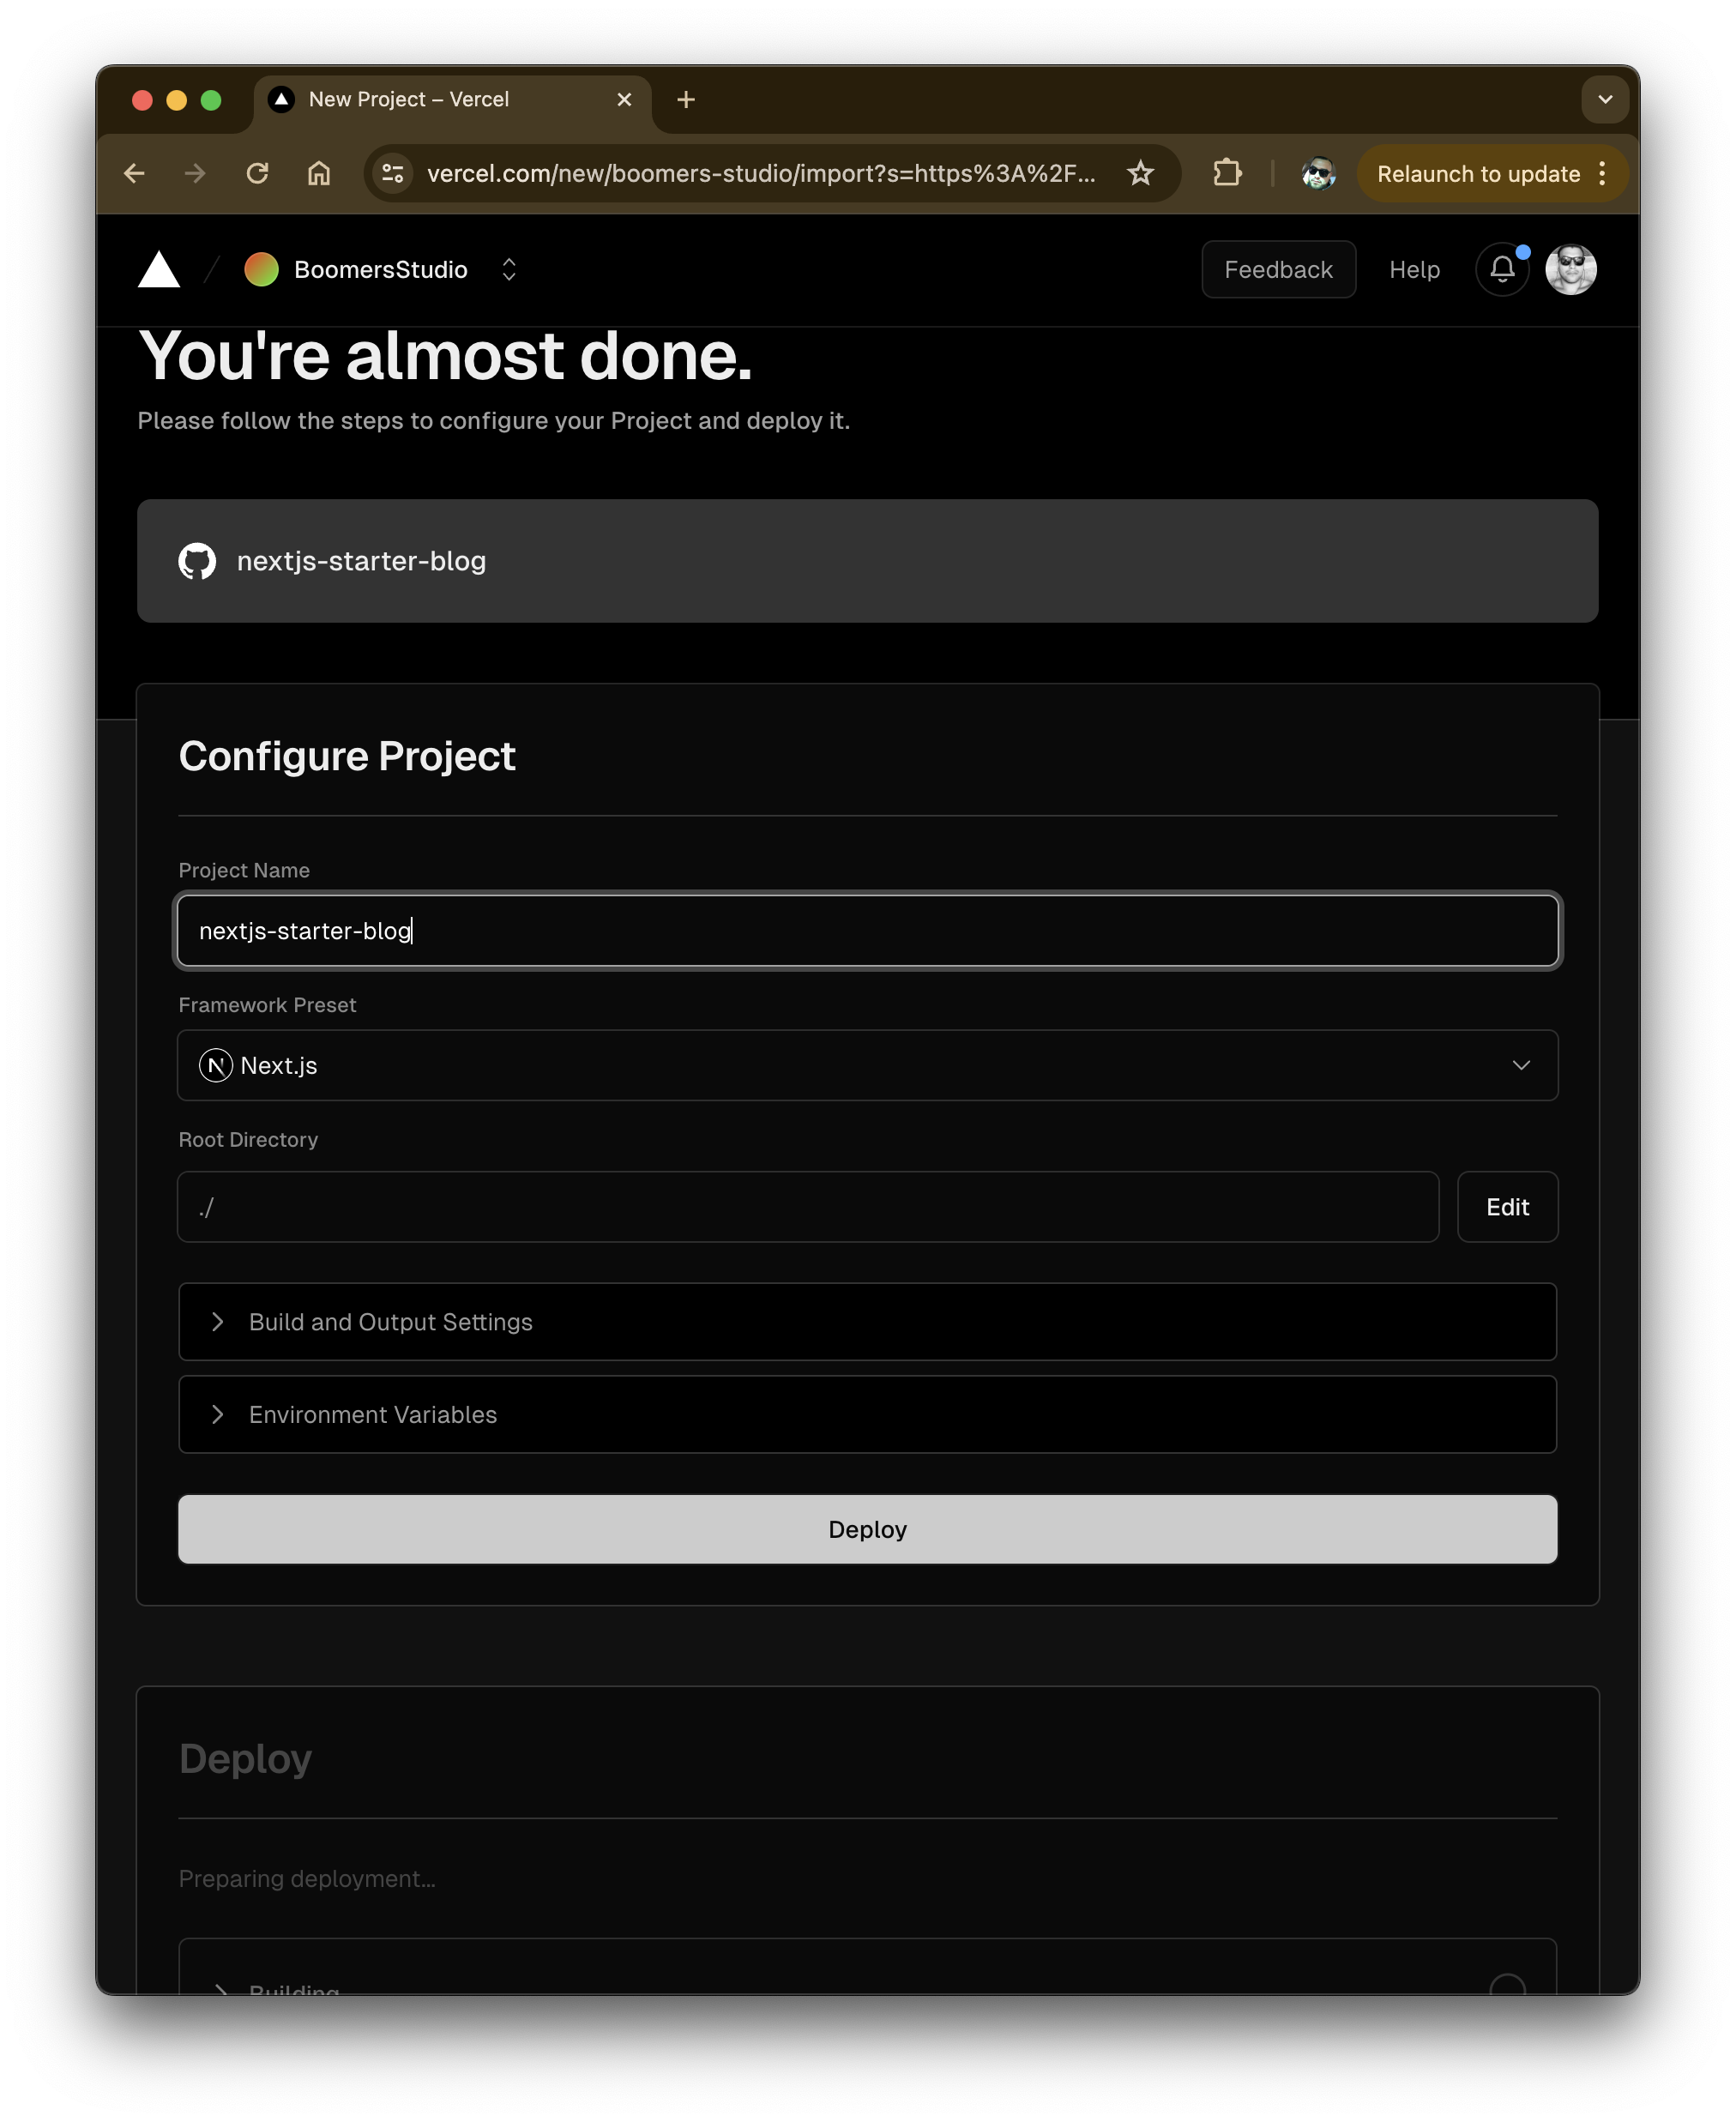 Once everything is completed we get the success message and now we can begin with authentication. So let's recap what we have done so far. We have a default NextJS app deployed to Vercel and connected via our github repo. Each time we merge to the Main branch, Vercel will re-deploy our app with the latest changes. We can now start developing and if you have a team, your engineers can contribute as well and start to integrate your development workflow. In the next part we will set up our postgres database and use Prisma as our GraphQL layer.
